1.Restoration of a vintage AC30 (circa 1963)
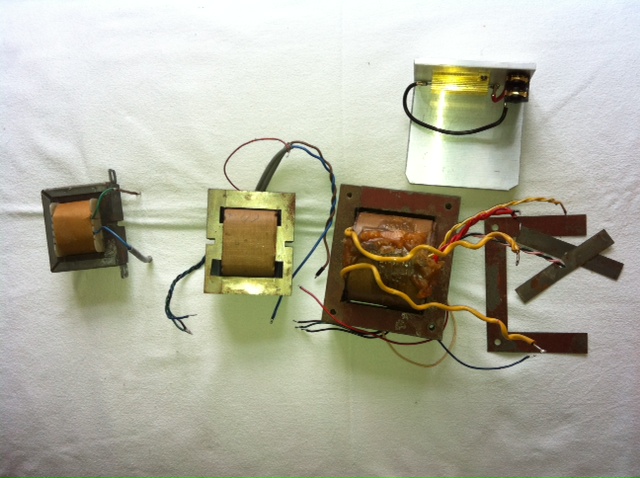
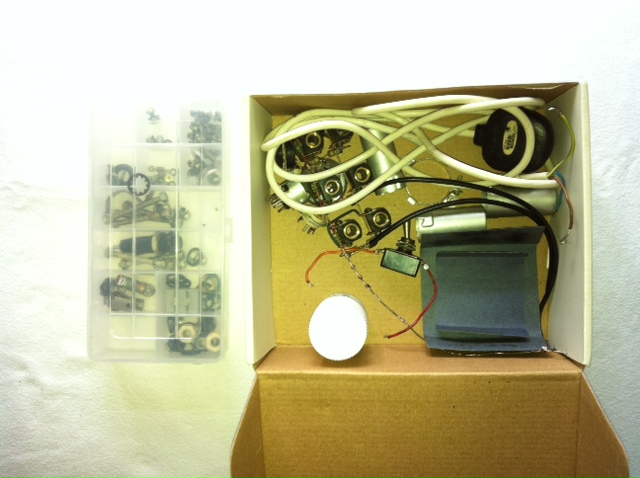
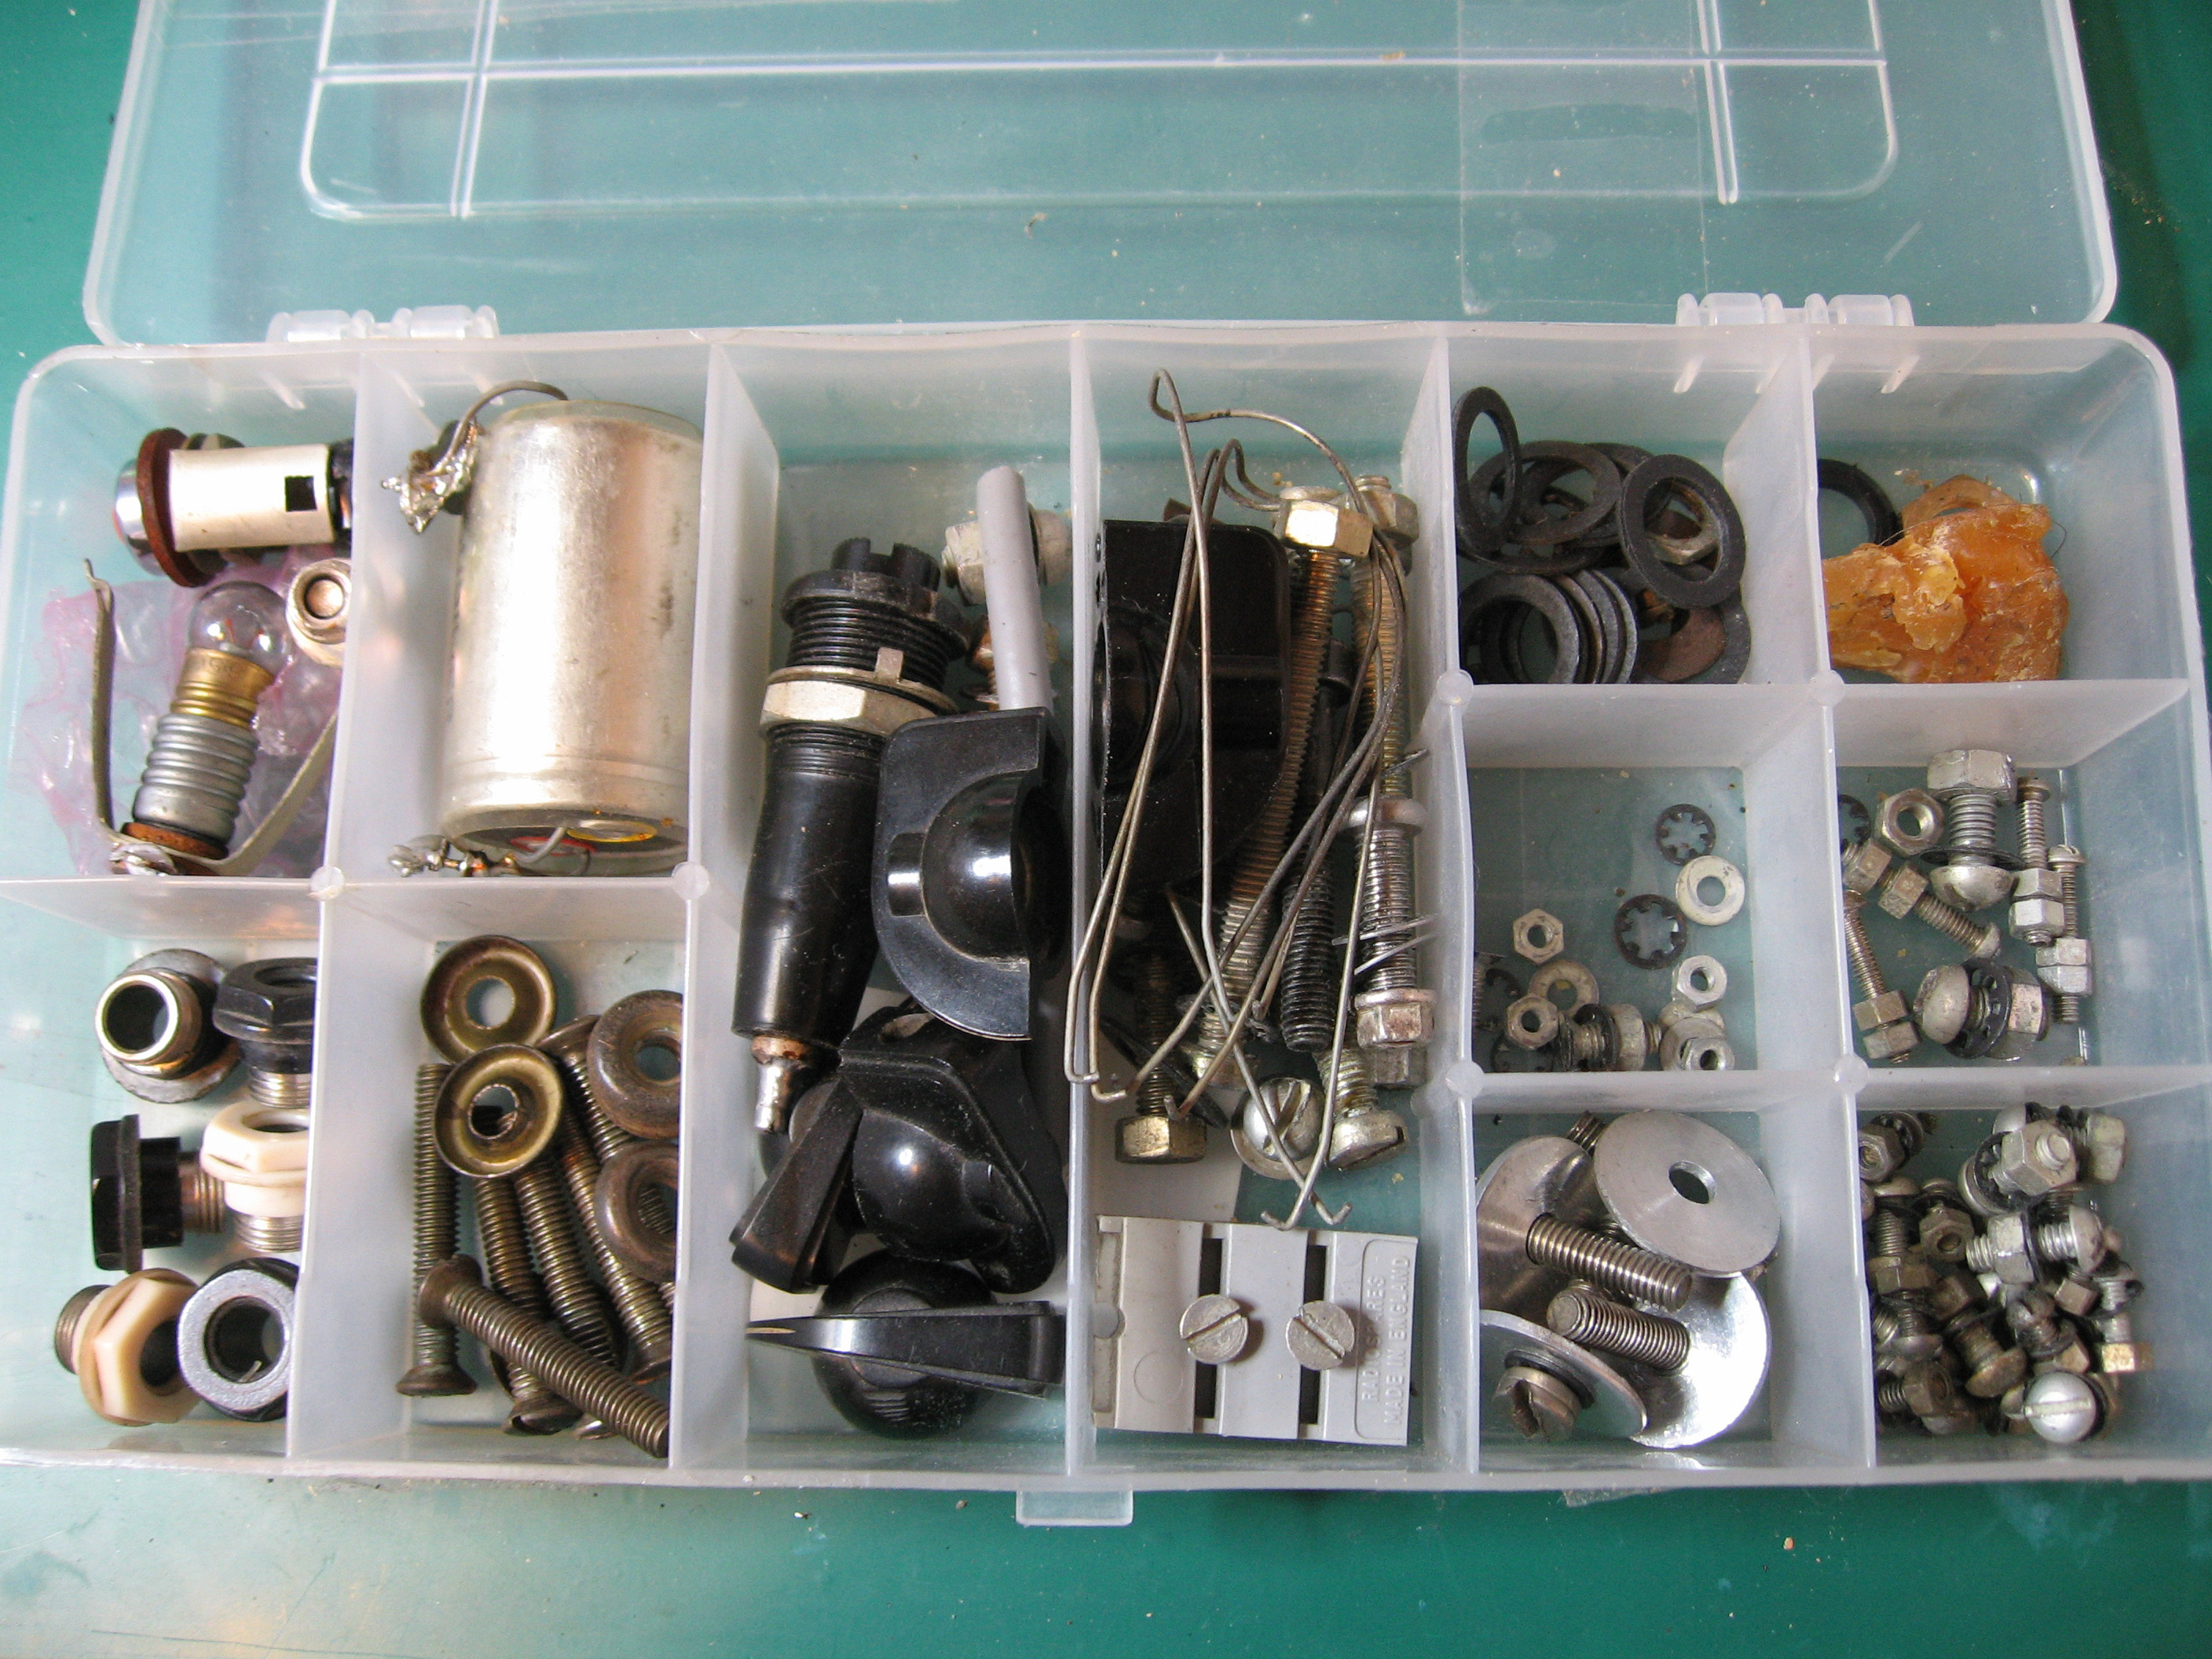
Here's some recent work that may be of interest. I had an enquiry from a customer with an AC30 head that required some work, and he asked if I would be prepared to take it on. He sent me these pictures of what he had,


...not very promising!
I asked him to send me the amp so that I could give him an idea of the cost of the work, but when I received the amp parts and the cabinet, I discovered that the "head" cabinet had once actually been a combo. It had been cut down in size. A real shame because it had been a fawn unit originally (pieces of the original covering were still present), and it had been painted black. The amp chassis itself was a red panel circa 1963, and it had been completely dismantled. None of the wiring was left, almost all of the parts had gone from the two tag strips, and in fact the top tag strip itself had been cut in half! Someone had also cut and bent the chassis along the rear edge to try to improve the ventilation. (There was the usual wax leakage on the bottom of the mains transformer).
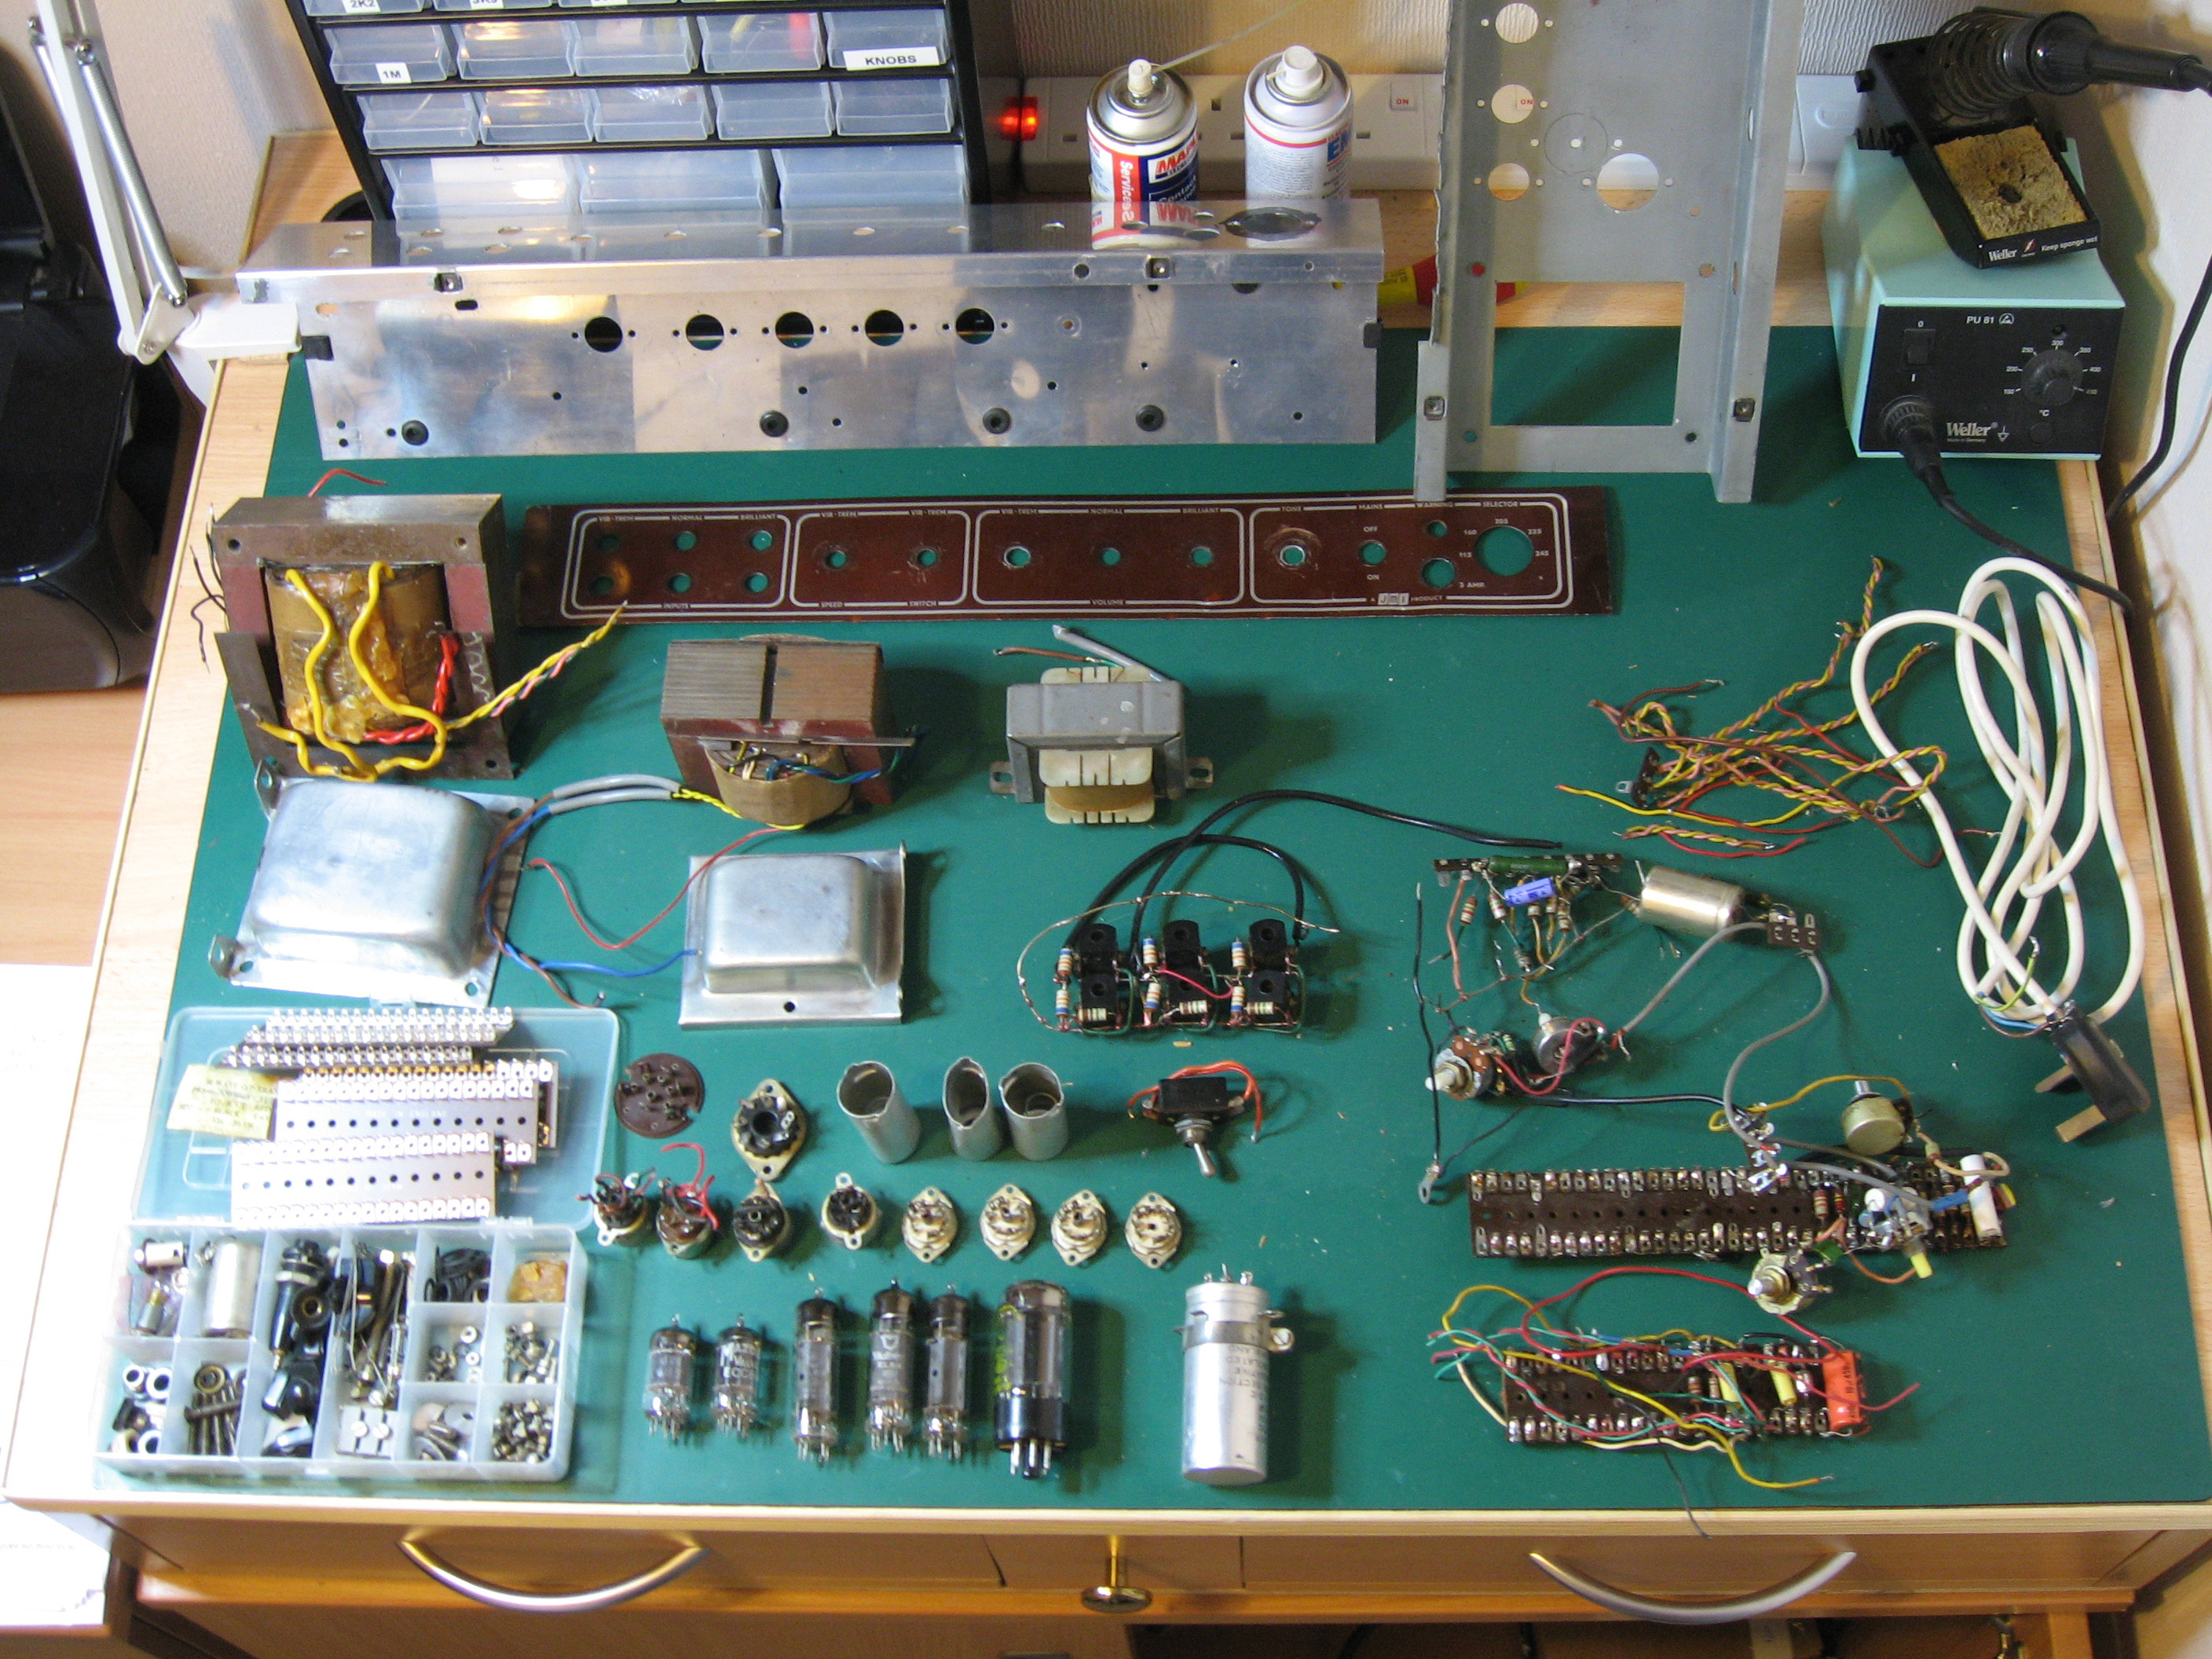
Parts Original tags
I gave an estimate for the work, got the go-ahead, and ordered up some parts.
I straightened out the chassis and control panel which had a few dents in it, and replaced all of the valve sockets. I also replaced the control pots and vib/trem switches, and installed new heater wiring.
New sockets, switches and controls Heater wiring Chassis reassembled
With the chassis reassembled and transformers and choke fitted I rebuilt the output stage.
The input jack section needed some work as there were some poor contacts, and also all of the input resistors had gone high, and out of spec. Luckily the Rendar jack sockets themselves could be dismantled for cleaning and retensioning of the contacts.
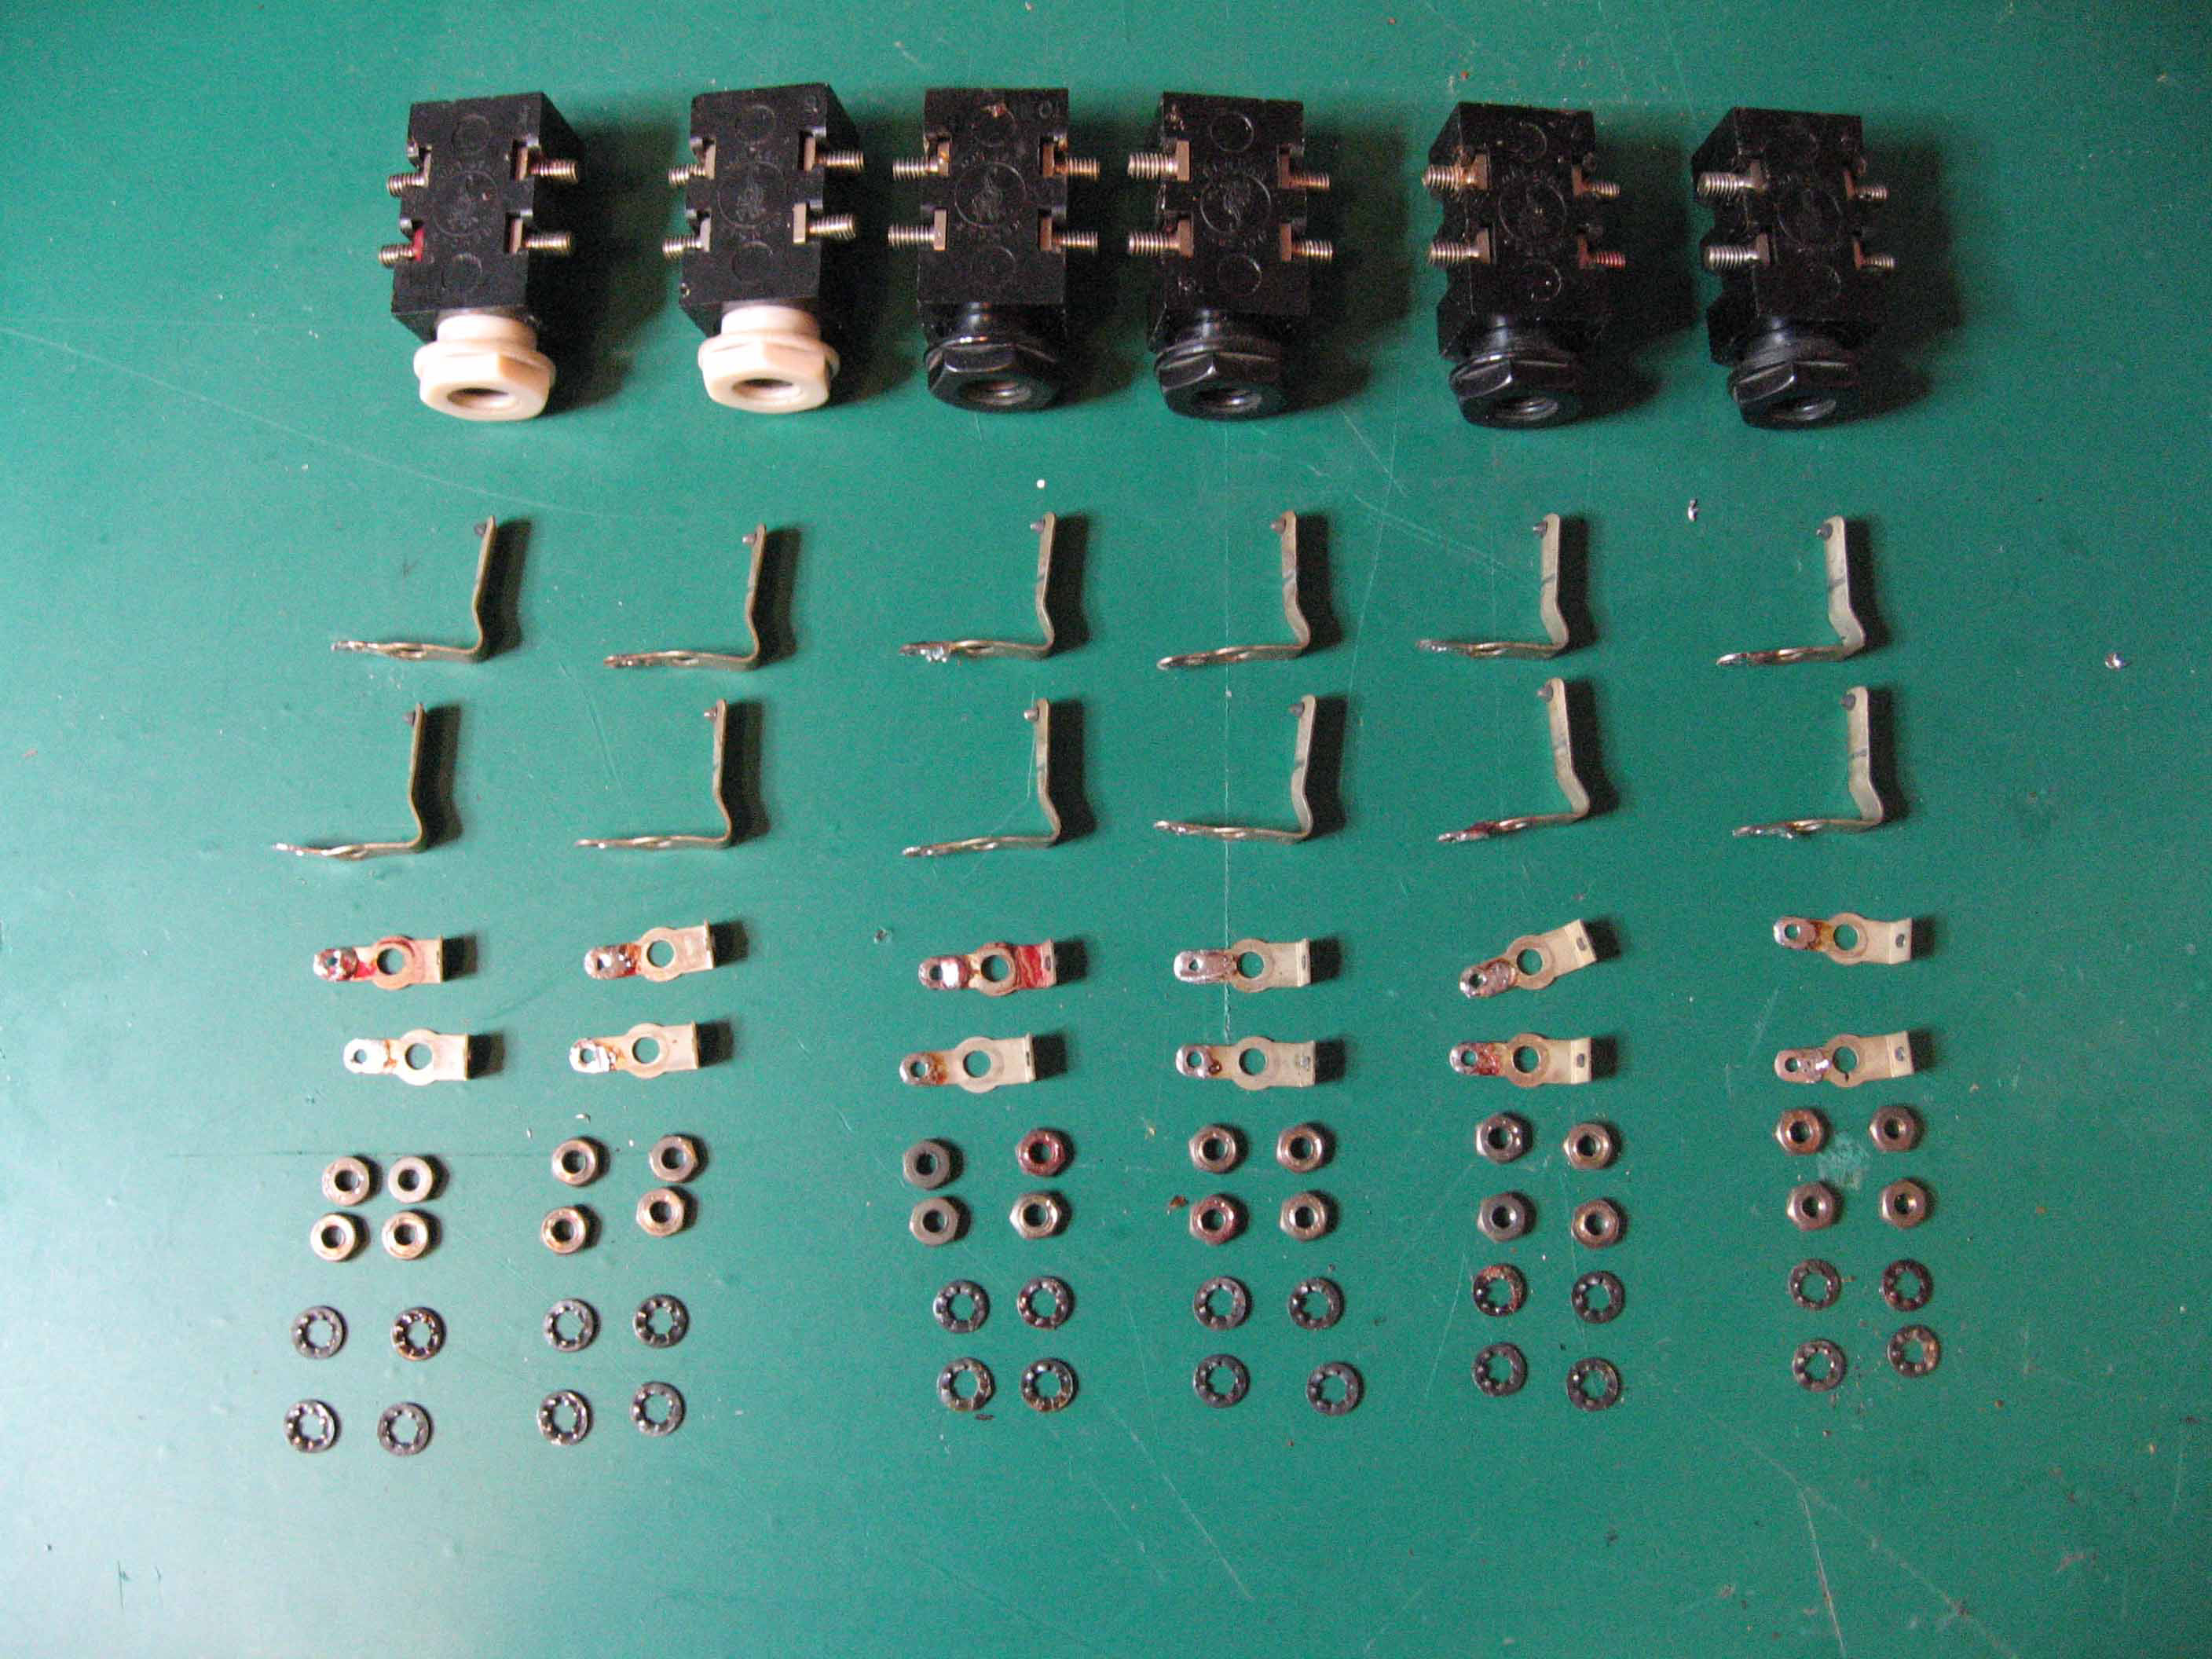
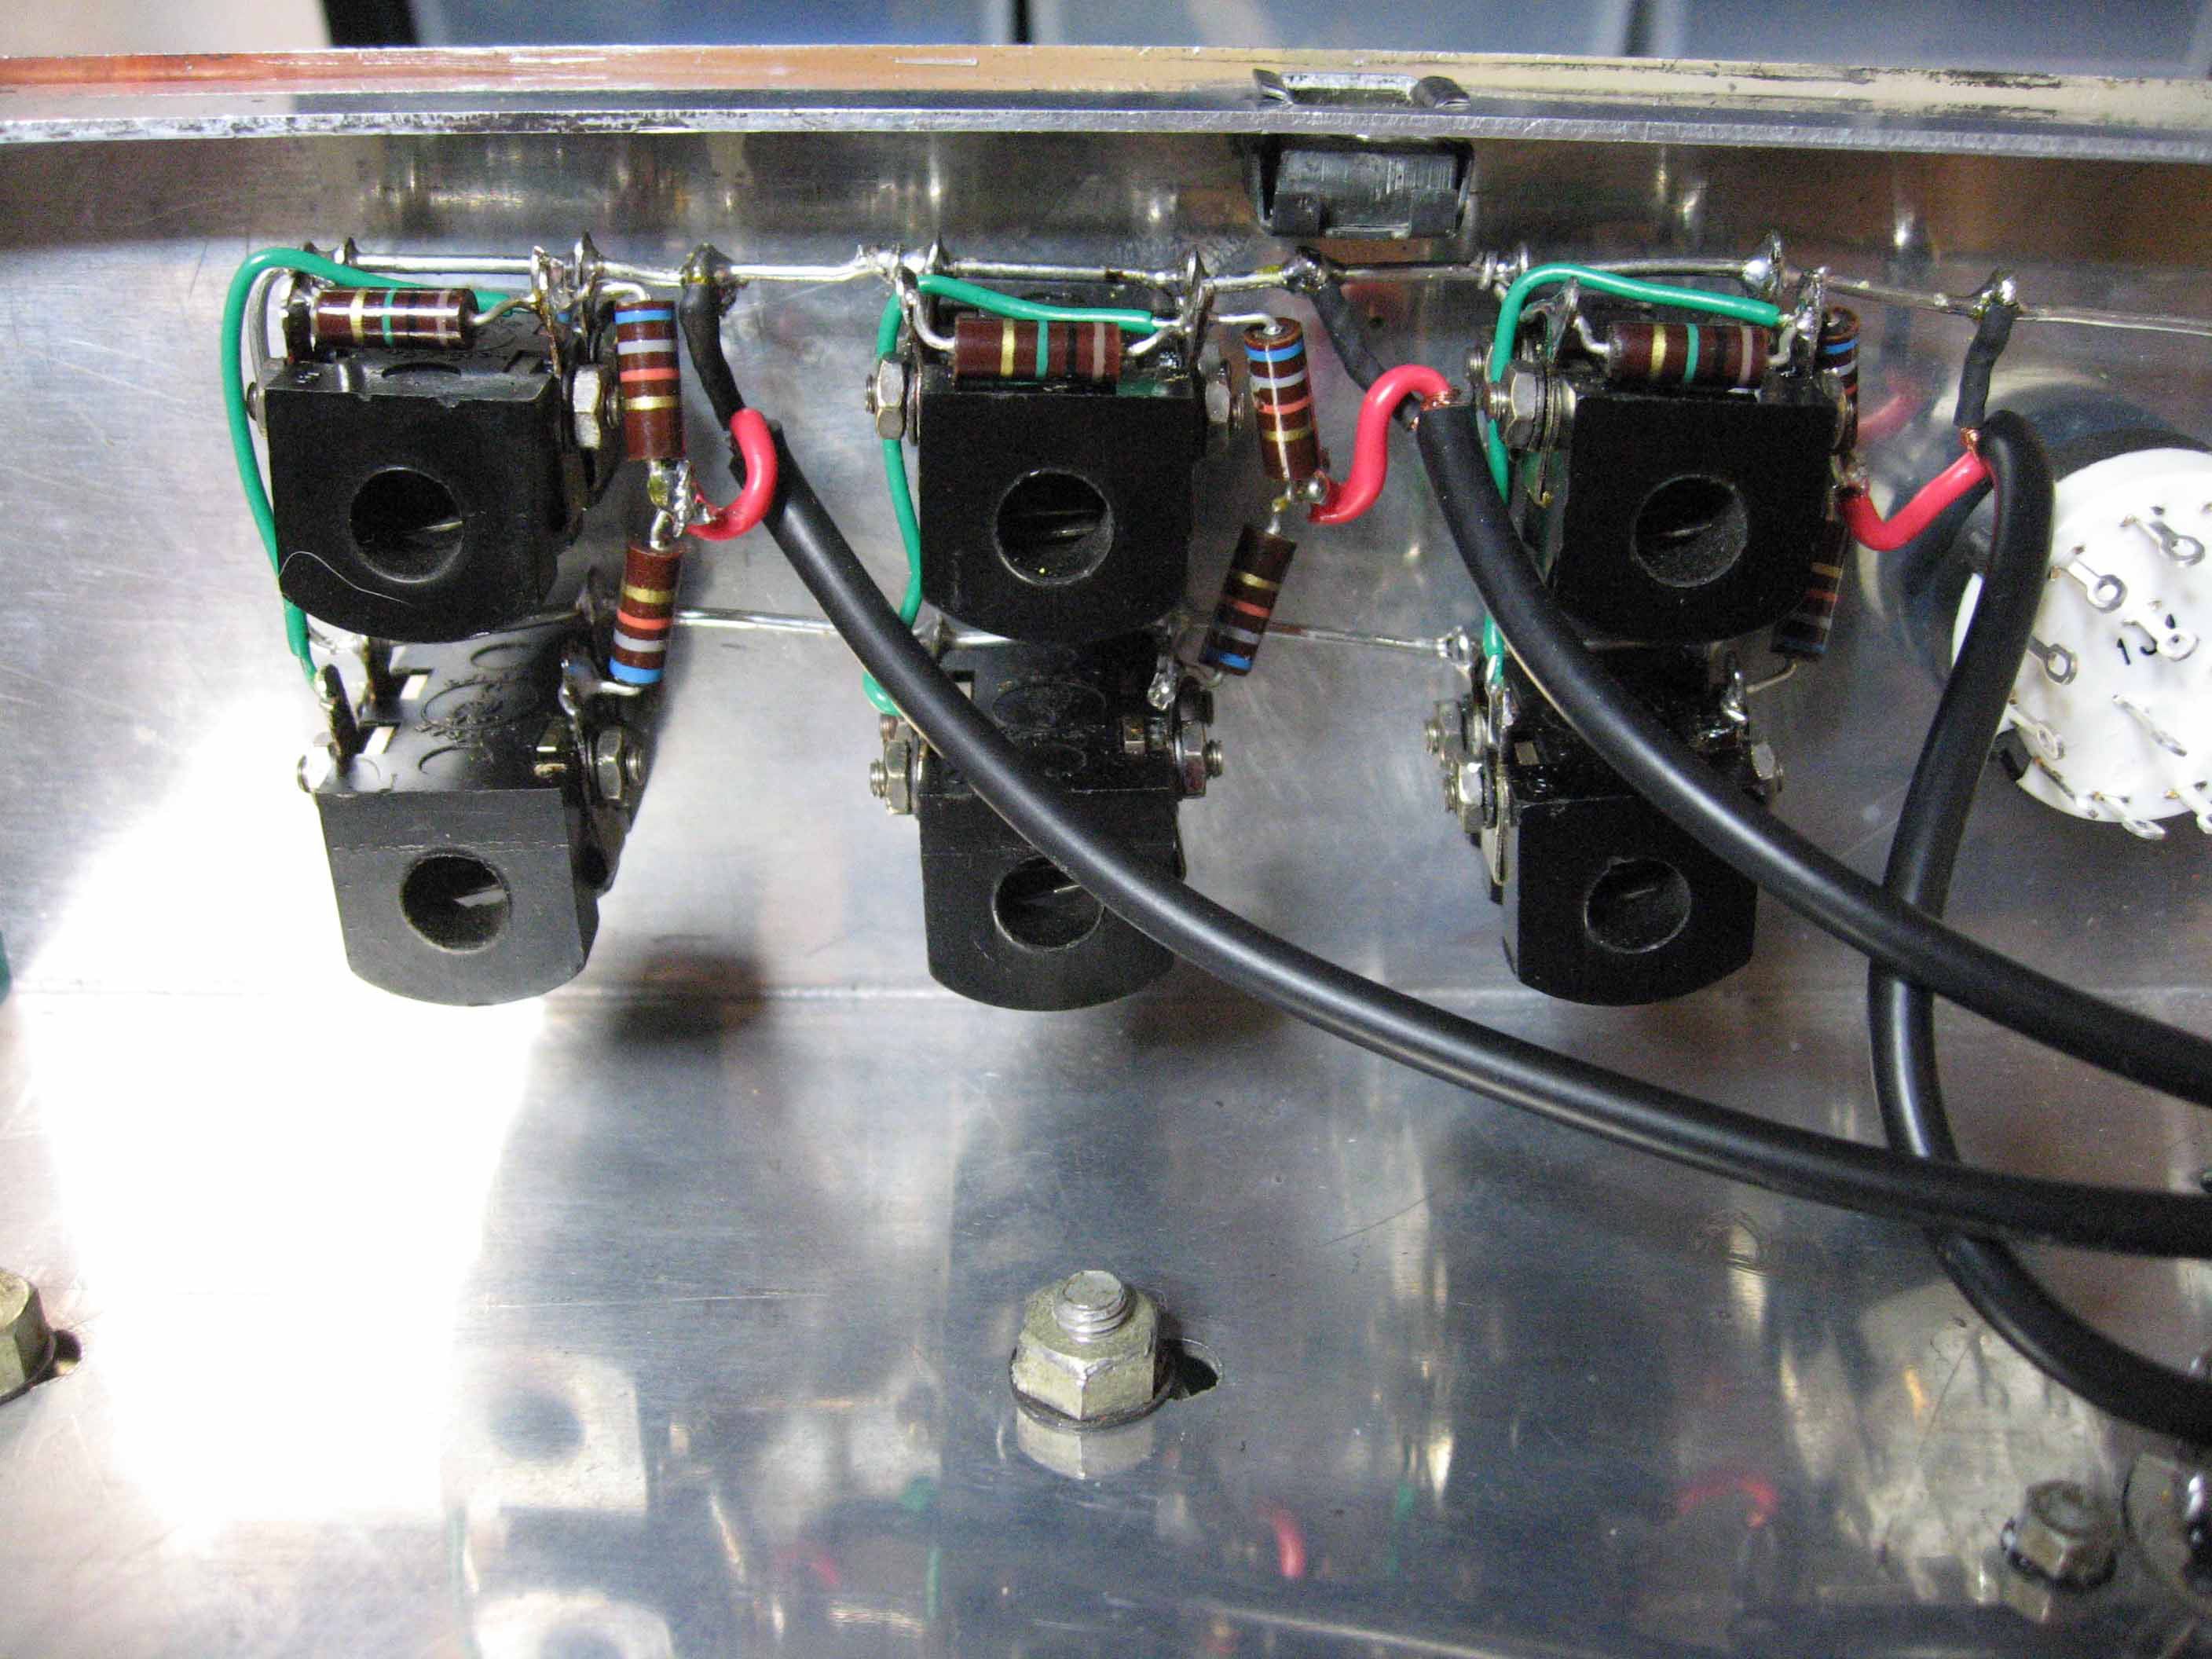
After cleaning I reassembled the sockets and fitted new resistors.
Then began the task of rebuilding the two tag strips. I had to join new sections of tag strip to make up to the required lengths. It took quite a bit of time to complete the tags!
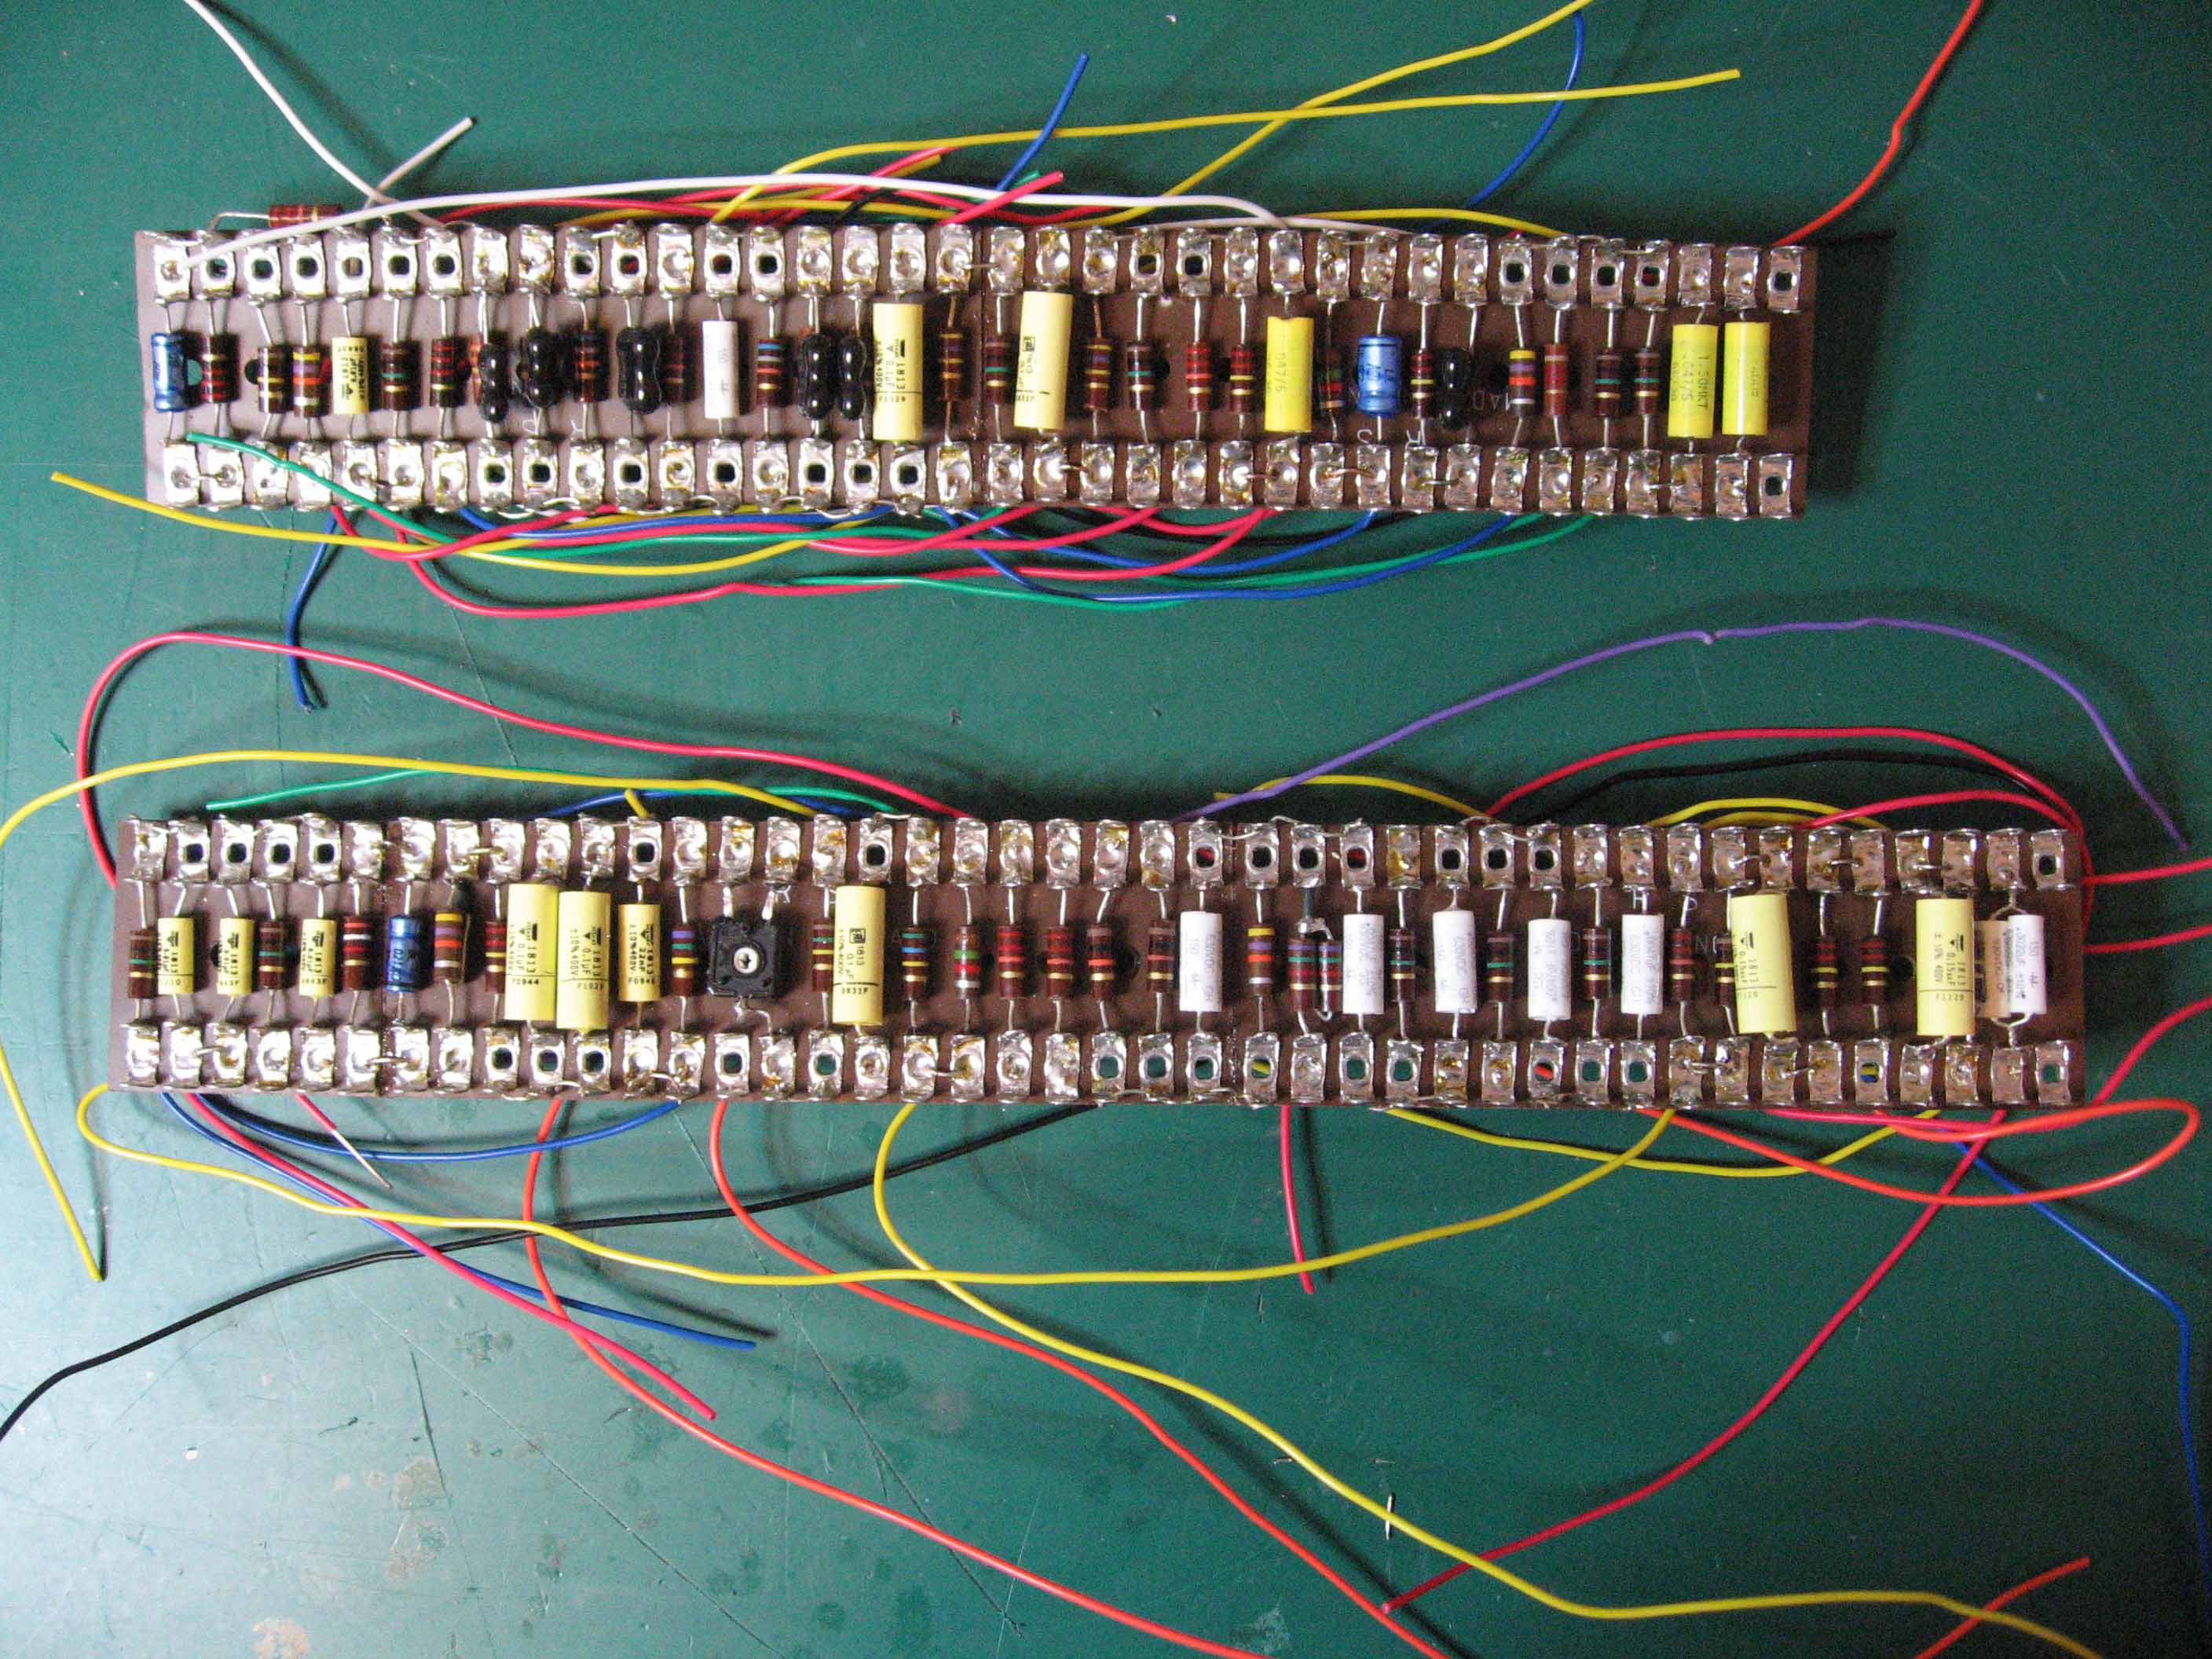
New tag strips
I then refitted both new tag strips into the chassis and wired up to the valve sockets, almost there!
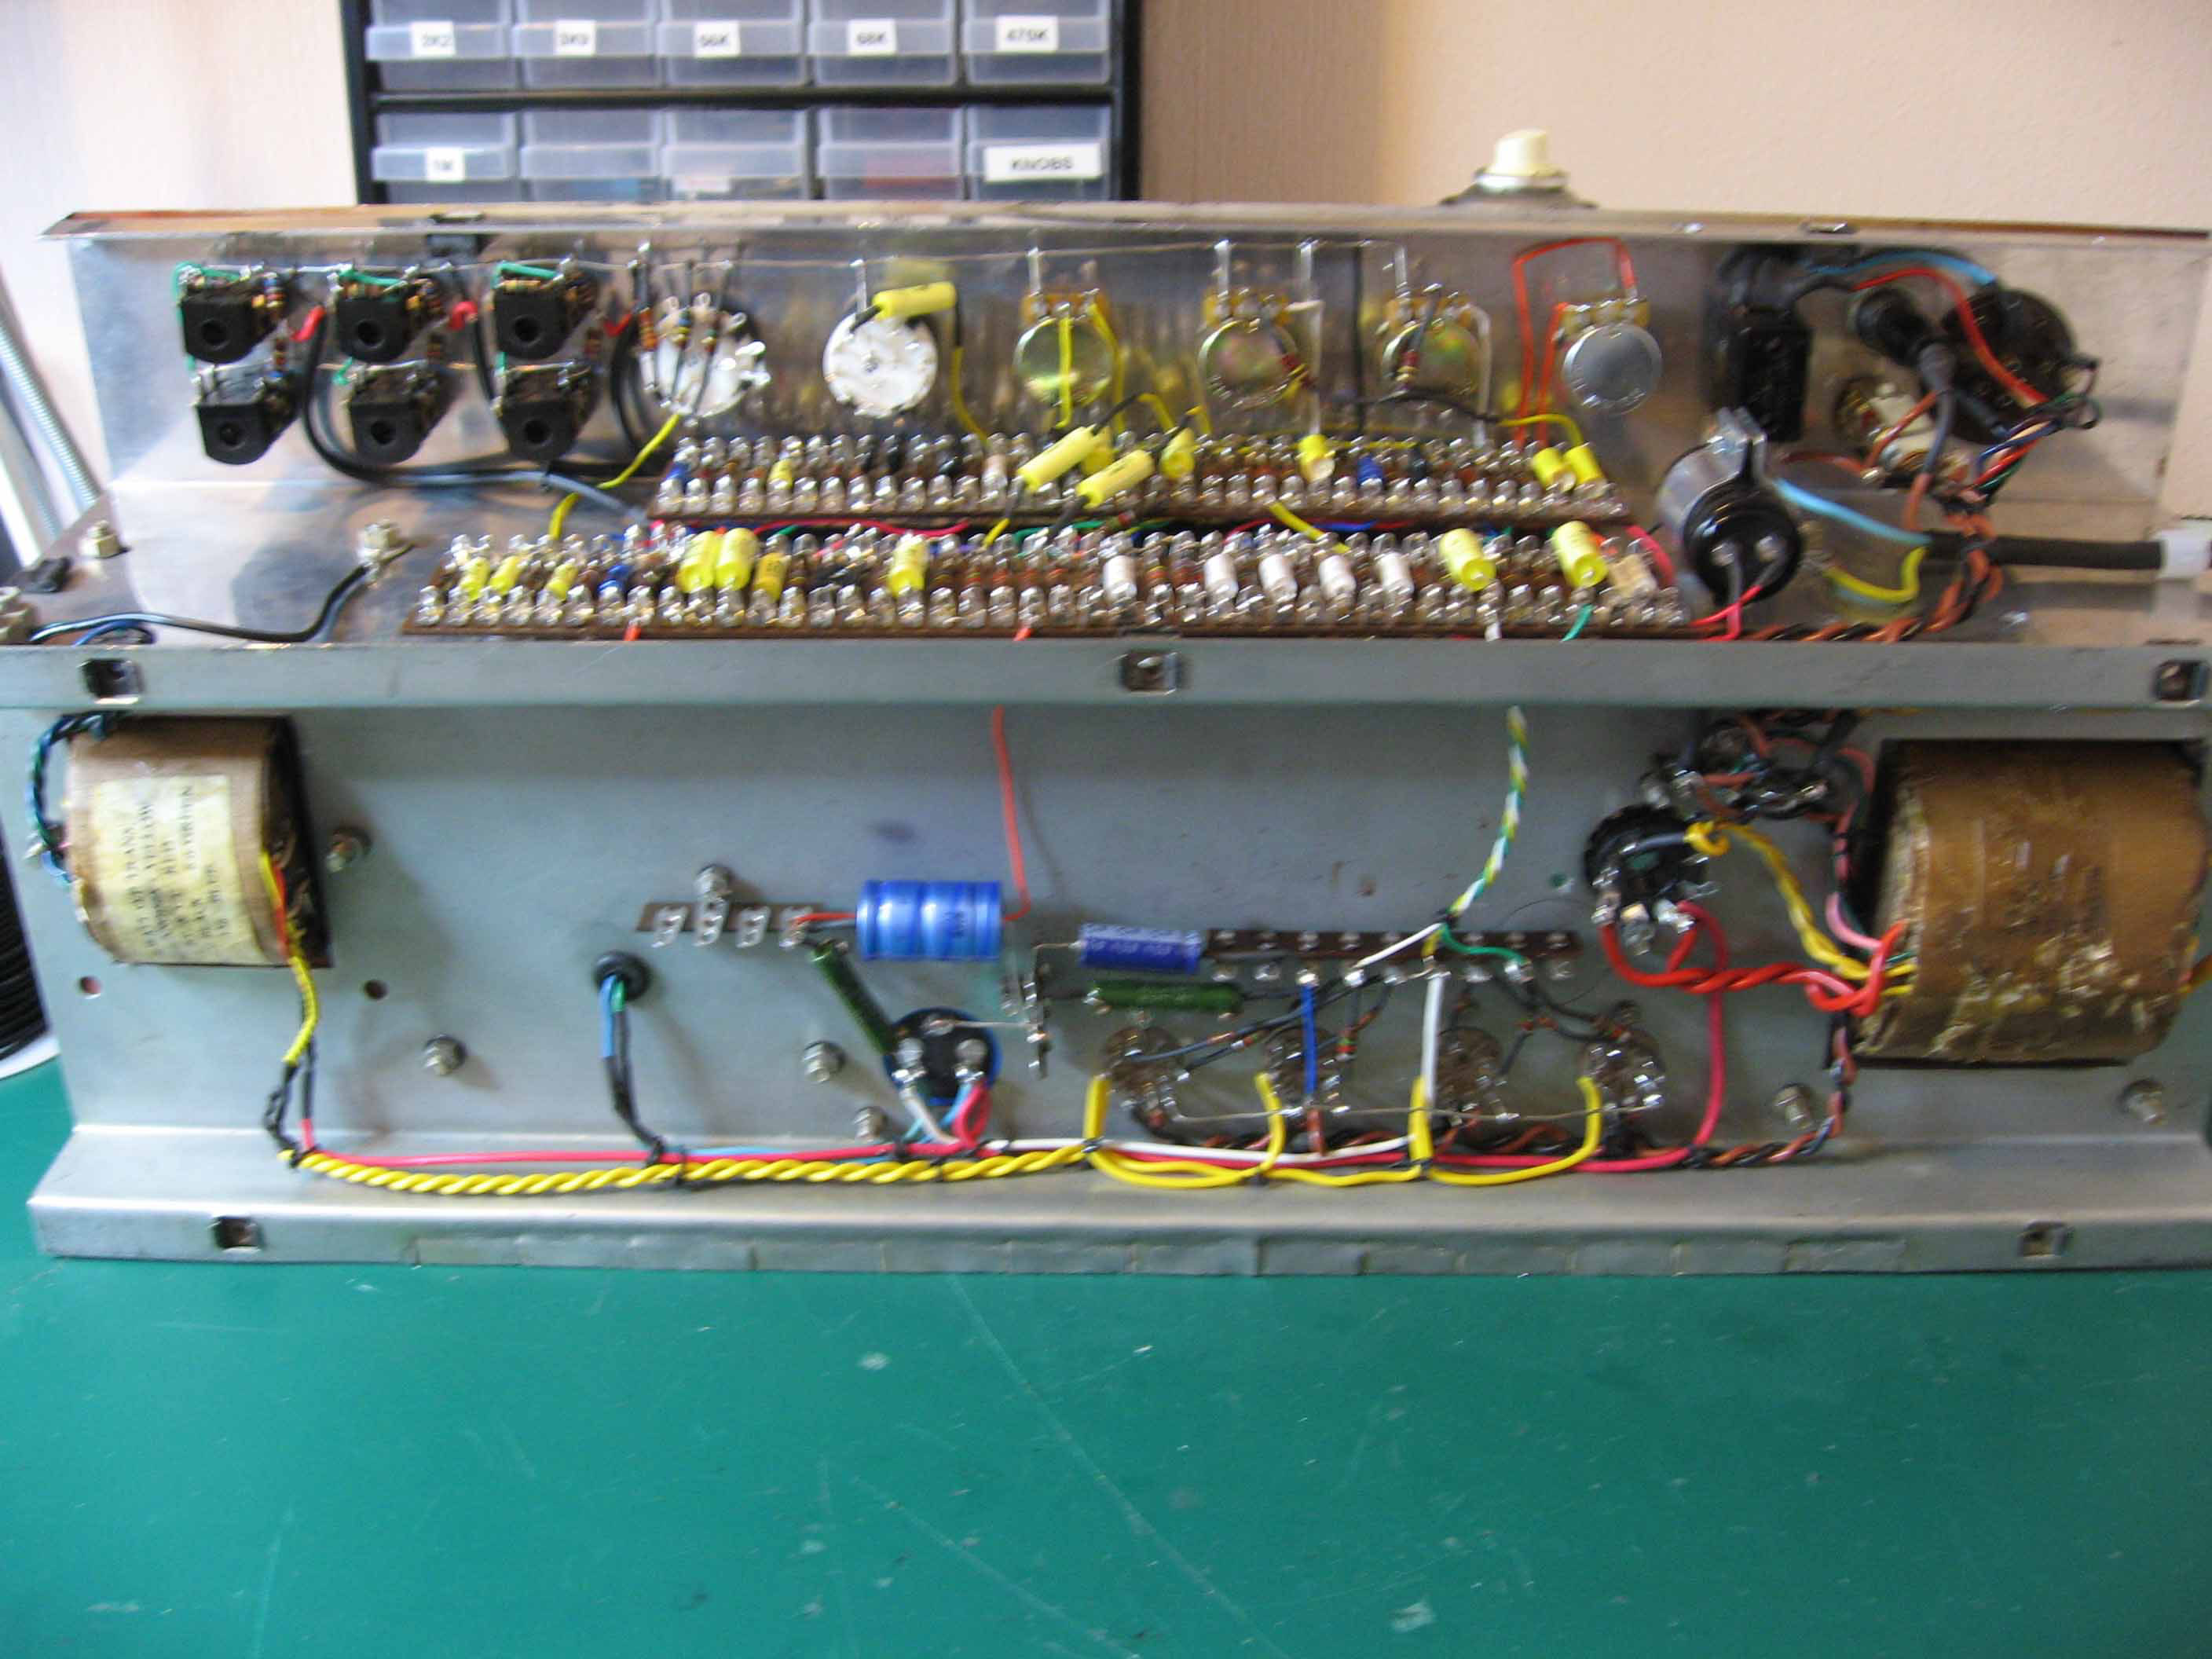
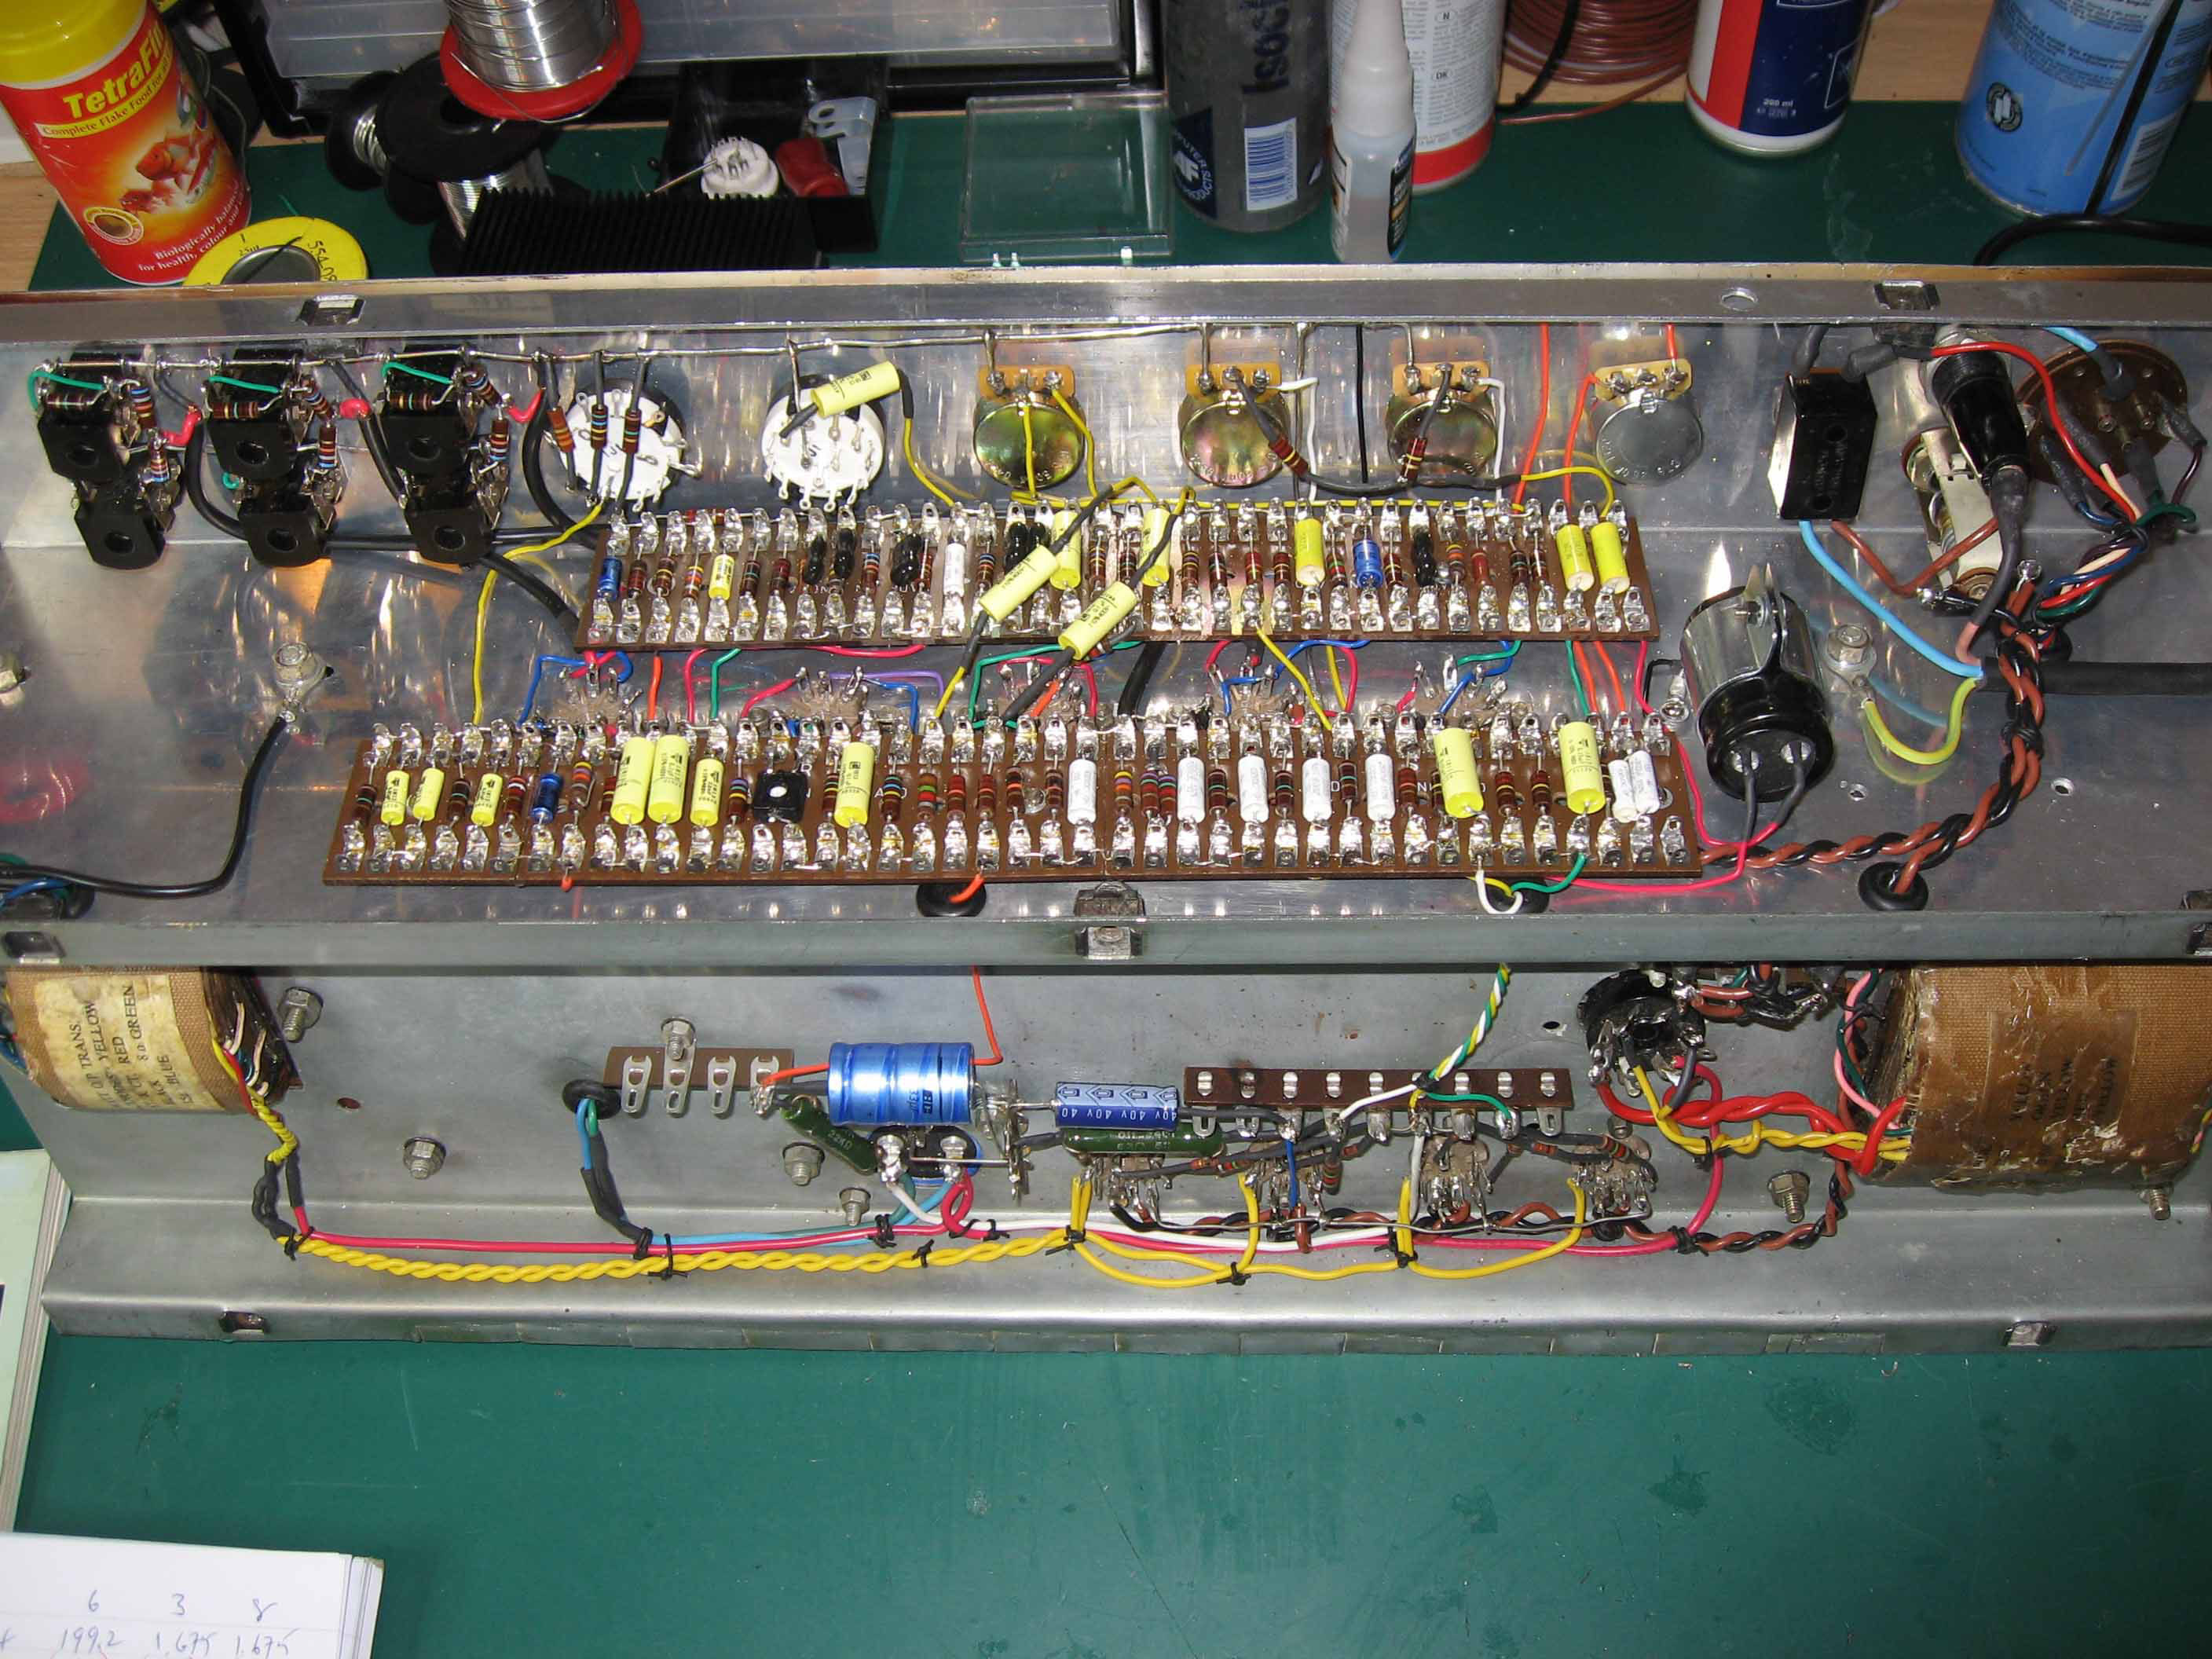
On completion of the wiring, and after a few checks I powered up the amp for the first time through a variac...no smoke! All circuit voltages looked to be fine. I ran some signal checks into a dummy load, all present and correct. Checked the transformers for signs of over-heating, everything was fine. (The amp has the original 82 ohm cathode resistor in the output stage, so it should run a little cooler than with the lower value cathode resistor).
Some of the valves were missing from the amp parts when I received them, so it needed one EL84, three ECC83's and an ECC82.
After testing into a dummy load and a PAT safety test, I ran the amp through a speaker for the first time, it sounds great!